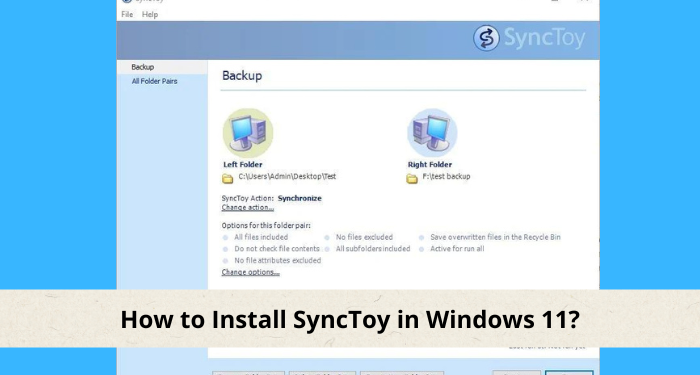
Although OneDrive and Dropbox are cloud-based storage services, you can sync your data locally sometimes. SyncToy, Microsoft’s sync tool, has been published, and we’ll teach you how to install SyncToy Windows 11. Microsoft’s SyncToy is a freeware synchronizing program that was first released as part of the PowerToys series. The Sync Platform is used in this application, built with Microsoft’s.NET framework. Users select a left folder as a source and a correct folder as a destination using this tool. One of the most valuable features of this program is the ability to change the destination or source folder at any moment. You can utilize a portable hard drive, a USB flash drive, or a network drive because you’re not limited to your internal hard drive. So, let’s look at how to get this software on Windows 11.
Steps to Install SyncToy for Windows 11
In just a few simple steps, you can install SyncToy on Windows 11. Just make sure you follow the directions mentioned below.
- Visit Microsoft Download Center
You can get it by going to the Microsoft Download Center and clicking on the download button next to SyncToy.
- Select the Version of SyncToy
- Choose the 64-bit version of SyncToy if you’re using 64-bit Windows. To begin the download process, select the Next option.
- After completing the download, locate the file and right-click it to begin the installation procedure. The Microsoft Sync Framework 2.0 Core Components agreement will appear first.
- Please read it carefully before clicking the ‘Accept’ button. While the Microsoft Sync Tool components are being deployed, be patient.
- A warning message will show once the SyncToy Windows 11 setup begins, which you must read and check ‘I’ve read and understood the warning above’ before clicking Next.
- License Agreement
- To proceed, select the ‘I accept’ option and click the Next button after carefully reading the license agreement.
- The next step is to choose where you want SyncToy for Windows 11 to be installed.
- You can also pick whether the software is installed for only the current user or all users on the computer. Then press the ‘Next’ button.
- For SyncToy Windows 11, follow the same methods. To begin the installation procedure, click the ‘Next’ button again.
- After you’ve completed the setting, click the Close button. You can open SyncToy for Windows 11 by right-clicking the SyncToy 2.1 Shortcut after installing it.
- Moreover, you can enable tablet mode Windows 11 anytime you want from the ‘System Display’ settings.
- Start Synchronizing Folders
- To proceed, select the ‘I accept’ option and click the ‘Next’ button after carefully reading the license agreement.
- The next step is to choose where you want SyncToy for Windows 11 to be installed.
- You can also pick whether the software is installed for only the current user or all users on the computer. Then press the ‘Next’ button.
- For SyncToy Windows 11, follow the same methods. To begin the installation procedure, click the ‘Next’ button again.
- After you’ve completed the setting, click the ‘Close’ button. You can open SyncToy for Windows 11 by right-clicking the ‘SyncToy 2.1 Shortcut’ after installing it.
- Method of Synchronization
- Synchronize: All created, renamed, or deleted files in the first folder will be synced with the second folder if this option is selected. This means that if you rename or remove something in the first folder, it will be synchronized with the second folder.
- Echo: You can claim modifications from the left to the right folder using this method, but not vice versa. This means that any changes you make in the right folder will not be reflected on the left.
- Contribute: This is the safest option because modifications in the right folder will not affect the left one. If you want to update the right folder, you can rename files in the left folder. Also, because this option does not enable deletion, you will be unable to delete that folder from the right folder if you delete it from the left.
- You must choose one of these and then click ‘Next.’ To complete the process, type the folder pair’s name and click ‘Finish.’
- Synchronization Settings
- You’ll see the properties of a folder pair as soon as you create it. You can change the synchronization settings or even delete some files from syncing if you want. In SyncToy Windows 11, the syncing folder is a simple operation.
- After the syncing procedure is complete, click the ‘Run’ option.
- You will now see a complete report appear on the screen.
So, now you know how to download and install SyncToy for Windows 11 using the above steps. Although SyncToy lacks several advanced functionalities found in other programs, it runs smoothly on Windows 11.


